The estimated reading time 2 minutes
It’s often useful for businesses to gather statistics on their current email traffic. This can be done via the Defender Portal in Microsoft 365 or using PowerShell. Generally, the standard Exchange Online Protection already allows you to view and analyze a significant amount of data (this feature is included in most standard plans; see Business or Enterprise plans ). However, it’s fair to say that the paid add-on, Defender for Office 365, offers considerably more capabilities and enhanced protection against phishing and other email attacks.
The following script requires a connection to Exchange Online PowerShell; for more information, see the link to Microsoft or my short tutorial .
The following script provides a rough overview of how much and what type of spam and phishing, etc., was detected. The number in the first line, “$daysbefore”, indicates how many days back the data goes.
$daysbefore = "2"
$EndDate = (Get-Date).AddDays(-1)
$StartDate = $EndDate.AddDays(-$daysbefore)
Get-ATPTotalTrafficReport -StartDate $StartDate -EndDate $EndDate -Direction inbound | Select-Object Eventtype,MessageCount | Sort-Object MessageCount -Descending | Format-Table

Detailed report:
To gain a more detailed overview, the data from incoming emails can also be exported. This can be done with the following script.
$daysbefore = "2"
$EndDate = (Get-Date).AddDays(-1)
$StartDate = $EndDate.AddDays(-$daysbefore)
$orgname = (Get-Organizationconfig).name
$date= (Get-date -Format yyyy-MM-dd-hh-mm)
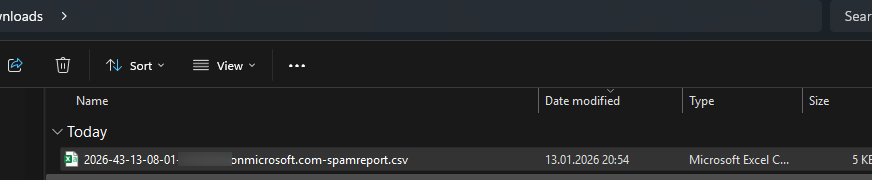
$exportpath = "$env:USERPROFILE\Downloads\$date-$orgname-spamreport.csv"
# get data
$Report = Get-MailDetailATPReport -StartDate $StartDate -EndDate $EndDate |
Where-Object { $_.VerdictSource -in @("Malware", "Phish", "Spam") }
# get statistics
Write-Host "statistic last $daysbefore days:"
$Stats = $Report | Group-Object -Property VerdictSource | Select-Object Name, Count
$Stats | ForEach-Object { Write-Host "$($_.Name): $($_.Count)" }
# export data
#$Report | Select-Object Date, Subject, SenderAddress, RecipientAddress, MessageId, VerdictSource
$Report | Export-Csv -Path "$exportpath" -NoTypeInformation -Delimiter ";"
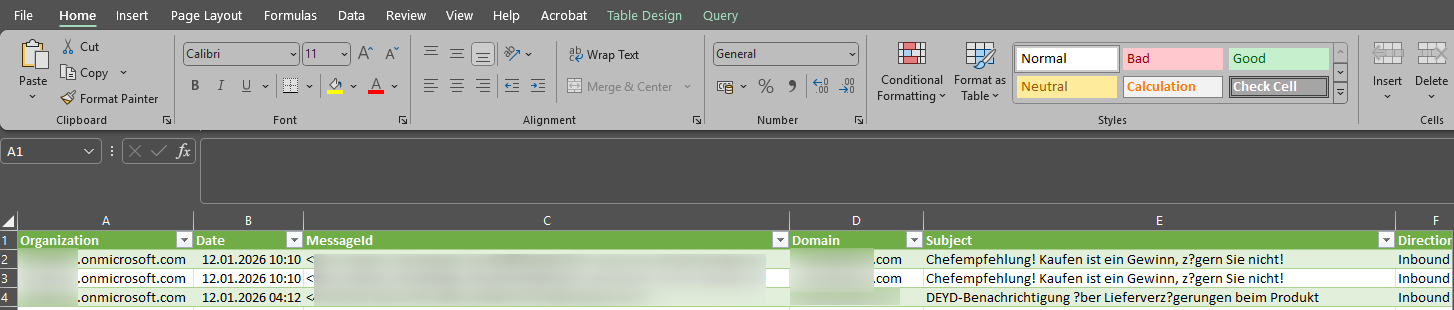
The script generates a CSV file in the logged-in user’s download directory. This file can then be filtered and analyzed using a tool of your choice.
This makes it relatively easy and quick to automatically send and generate reports via PowerShell.
If you enjoyed this article, please leave a “helpful” rating. I also welcome comments.