The estimated reading time 4 minutes
dkmi DomainKeys Identified Mail in Office 365 Exchange Online How to
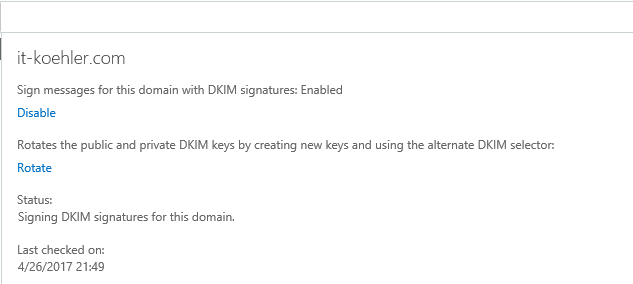
For some time, a new option DomainKeys Identified Mail (dkmi) has been added to Exchange Online (Office 365) under the tab “Protection”
This setting provides another way to counter phishing and other manipulation mechanisms in mail traffic.
This feature is already included with Exchange Online in the smallest version (Exchange Online Plan1) and has not caused any problems so far.
At the end of the article is a script for the analysis of the DKMI entries!
See Exchange Admincenter -> Protection -> dkmi.
More information about dkmi can be found here.
If CNAME entries are incorrect or completely missing, the following message appears:
CNAME record does not exist for this config. Please publish the following two CNAME records first
To active dkmi completly you have to configure some CNAME records (subdomains). Also Office 365 recommends the use of dmarc values, some information about dmarc will be given later in this article.
Prerequesits for dkmi are quite simple:
- spf (txt record)
- dmarc (txt record)
- selector1 (CNAME)
- selector2 (CNAME)
So how do these entries look like?
dmarc settings
Let’s have a look on dmarc entries (Domain-based Message Authentication, Reporting & Conformance). “_dmarc.it-koehler.com” subdomain “_dmarc.Domain.de” is created.
A txt entry must be made for this subdomain. Further information on this topic can be found here.
The contents of the TXT entries looks as follows for me (also for this there is a separate format).
v=DMARC1;p=quarantine;pct=100;rua=mailto:dmarcinfo@it-koehler.com
What’s happening if the dmarc is not successful?
-> Office 365 does not discard any mails (see link) they will be marked as spam. Even if the dmarc value is set to p=reject no mails will be discard from dmarc.
>
If the DMARC policy of the sending server is p=reject, EOP marks the message as spam instead of rejecting it. In other words, for inbound email, Office 365 treats p=reject and p=quarantine the same way.
<
To generate your own dmarc entrie you can use a webgenerator and find it here
selector 1 /2
Before you start please read the microsoft instructions summorized in the link
Important informations from this article:
Host name: selector1._domainkey.<domain>
Points to address or value: selector1-<domainGUID>._domainkey.<initialDomain>
TTL: 3600
Host name: selector2._domainkey.<domain>
Points to address or value: selector2-<domainGUID>._domainkey.<initialDomain>
TTL: 3600
first you have to create the two selctor subdomains.
selector1._domainkey.it-koehler.com
after creating the subdomain you have to put a CNAME on this subdomain
selector1-<domainGUID>._domainkey.<initialDomain>
How do you know your domainGUID? this is simple-> it’s in your mx record
check your mx-record
itkoehler-com0e.mail.protection.outlook.com
the green letters are the DomainGUID!
InitialDomain = domain you started initial when creating the office 365 account (always “onmicrosoft.com”)
After knowing this short peace of information it is simple to generate selector entries.
selector1-itkoehler-com0e._domainkey.itkoehler.onmicrosoft.com
Same procedure for selector2 and give it time to replicate the dns settings and entries (mayby up to 48 hours)
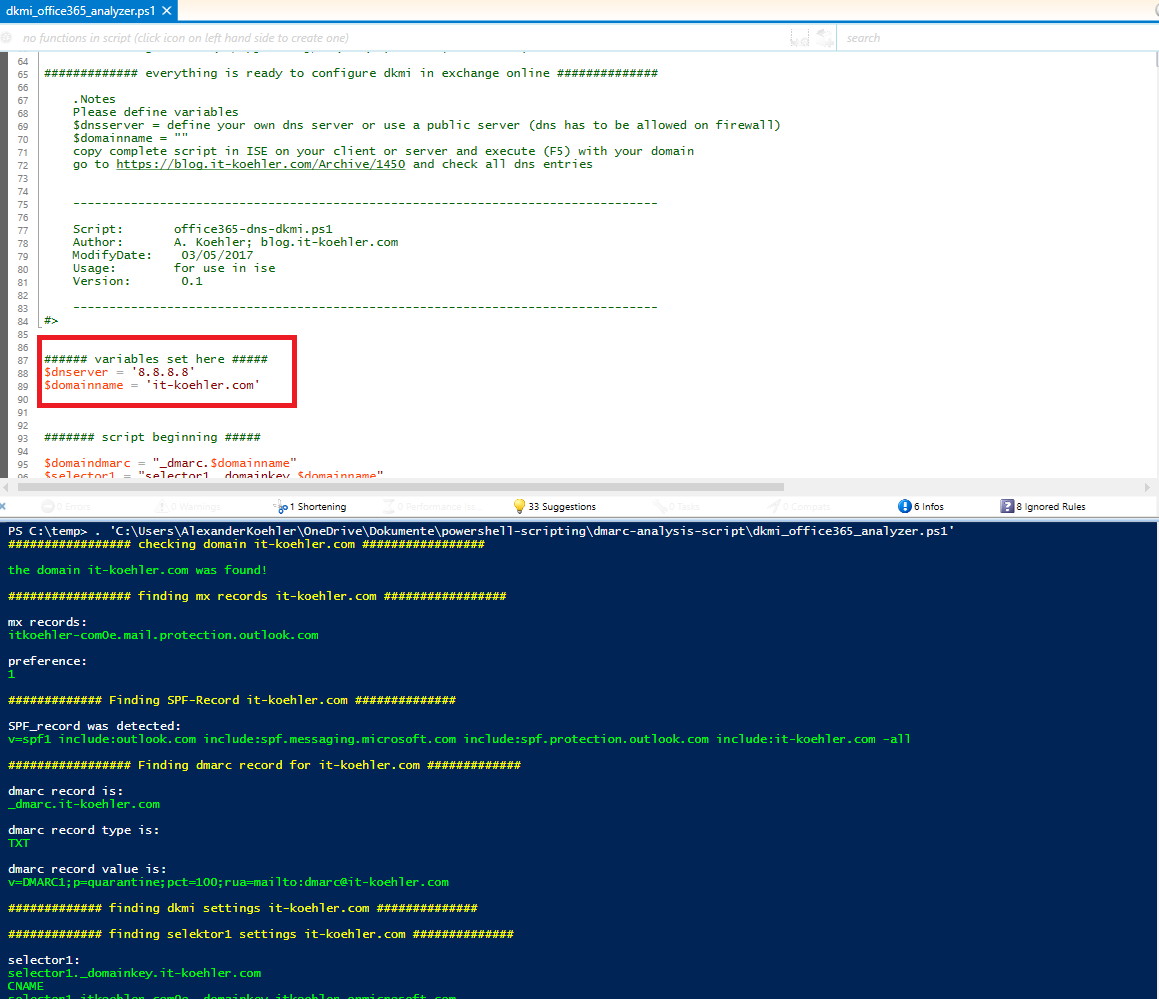
 To check your dns settings I created a small powershell script. It helps to detect what is missing in your dns config.
See github
https://github.com/blog-it-koehler-com/dkmi-office365-analyzer
copy the entire script in your local ISE, change domain and DNS Server settings
UPDATE: a new version of the script is available now, you can execute the script directly in powershell an it asks for domain and dns server ip (also right click “open in powershell” is possible)
I’m looking forward to your feedback. Later on I will generate a little gui for this script so it will become more friendly.
have fun.


