The estimated reading time 4 minutes
Windows Admin Center 1809 install and distribute selfsigned certificate
Hi everyone,
as Windows Admin Center is becoming more and more popular, I asked myself; how I can change/renew the default certificate in an WAC installation. After installation the default certificate is valid for about three months. So there is not much time 🙂 to change it.
In my scenario I use OpenSSL with a special configuration file to generate a certificate for my WAC Server. You can also buy a trusted certificate from a provider.
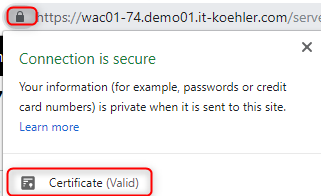
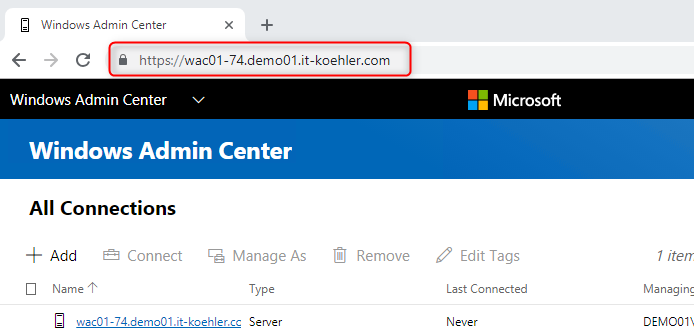
The aim is to access the WAC with a valid certificate inside domain network:
 Let’s have a look at my config file
###### config file
[req]
default_bits = 2048
prompt = no
default_md = sha256
x509_extensions = v3_req
distinguished_name = dn

[dn]
C = DE
ST = BW
L = Mengen
O = IT
emailAddress = XX@demo01.it-koehler.com
CN = wac01-74.demo01.it-koehler.com

[v3_req]
subjectAltName = @alt_names

[alt_names]
DNS.1 = demo01.it-koehler.com
DNS.2 = *.demo01.it-koehler.com
DNS.3 = wac01-74
DNS.4 = localhost
You can install OpenSSL on your PC it is not needed on the WAC Server. Check the path where the config file is located! In my case it is called “wildcard.cfg”.
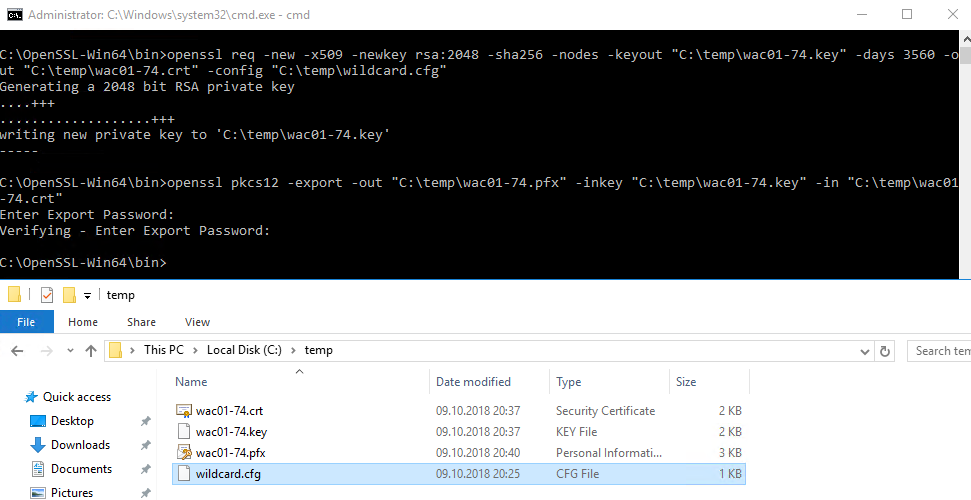
openssl req -new -x509 -newkey rsa:2048 -sha256 -nodes -keyout "C:\temp\wac01-74.key" -days 3560 -out "C:\temp\wac01-74.crt" -config "C:\temp\wildcard.cfg"
After generation you can also convert it to an pfx so that windows server can import it and uses the private key.
openssl pkcs12 -export -out "C:\temp\wac01-74.pfx" -inkey "C:\temp\wac01-74.key" -in "C:\temp\wac01-74.crt"
If you completed the steps successfully there should be some files like this in the working directory on your pc.
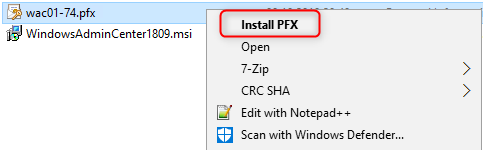
Now you can copy the pfx file to your WAC server to import it.

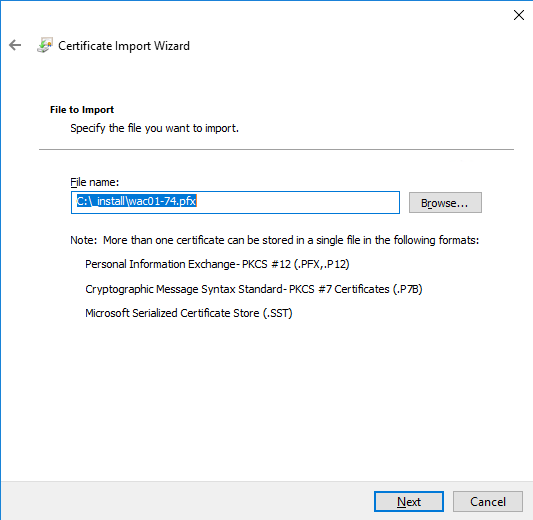
You need the password defined in openssl to import the pfx file
There is no need to mark it as exportable, but if you loose your password you can export it again from the WAC server. It is your choice 🙂 .
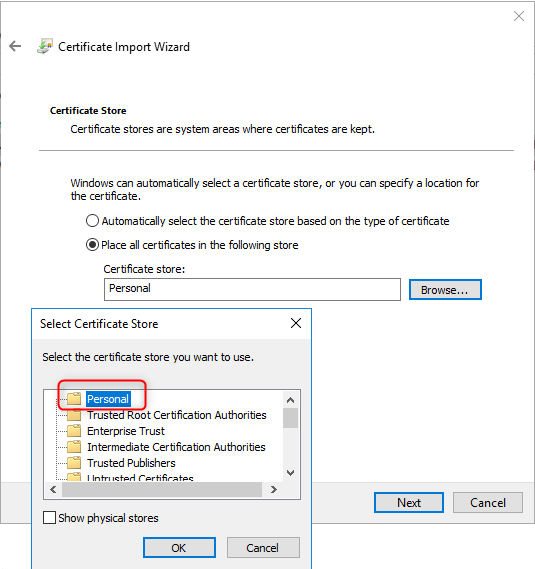
The pfx file has to be imported in personal certificate store!
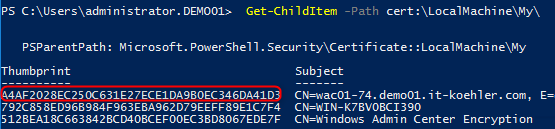
During the installation process in WAC you need the thumbprint of this certificate. So there is a easy way to get it with powershell or with the mmc “certlm.msc”.
Get-ChildItem -Path cert:\LocalMachine\My\
In this case identifying is quite easy. Copy the thumbprint to an document.
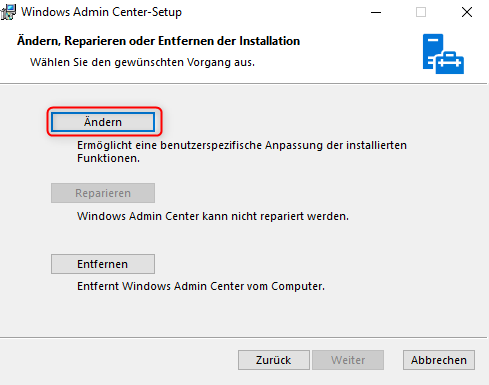
Now we’re ready to change the certificate in WAC. To do this start the original setup (msi) again.
 Select “change”.
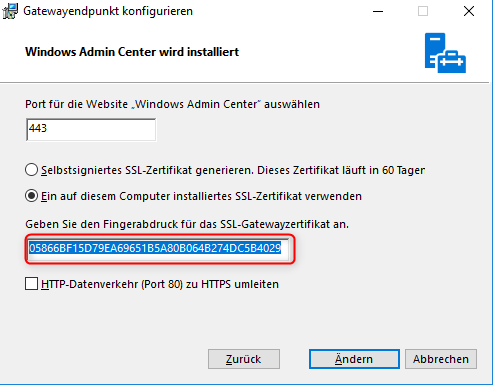 Past the copied thumbprint to the field gateway certificate. (the old one is not needed anymore)
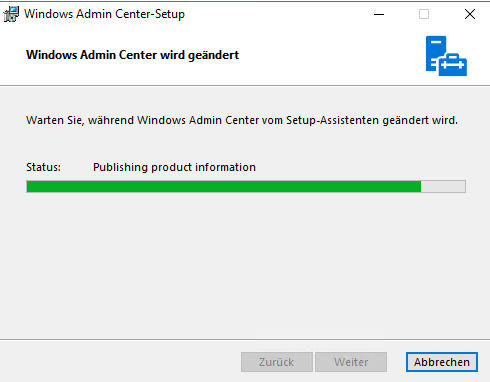 Finish installation. So now the WAC is using our brand new certificate, but installing on the server does not mean that it is reliable. When we open Edge or Chrome everything is red and “not secure”.

We have to make the complete domain (or only some parts) trusting my new certificate. In my case I decided to achieve this with a new gpo. So open your GPO console on your DomainController or RSAT Tools.
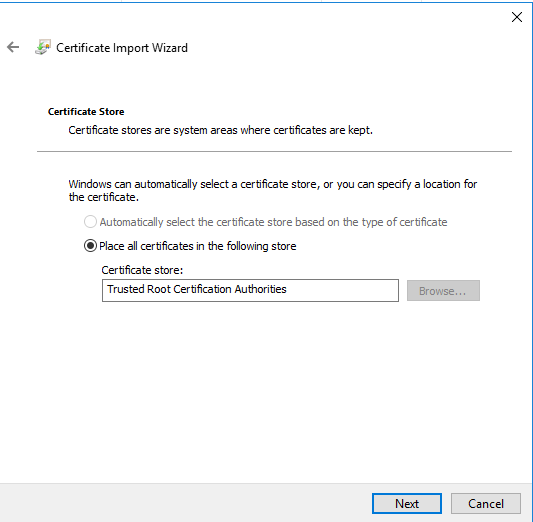
Generate a new gpo and import the .crt file (it doesn’t make sense to distribute your pfx file, in contrast it is dangerous).
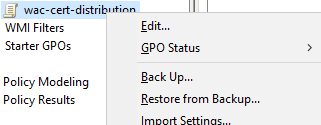
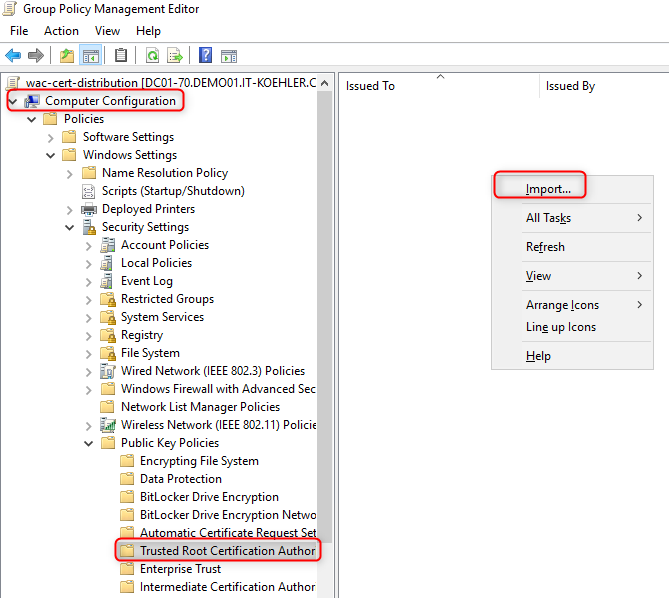
Copy the crt-file to the DC or where it can access the file.

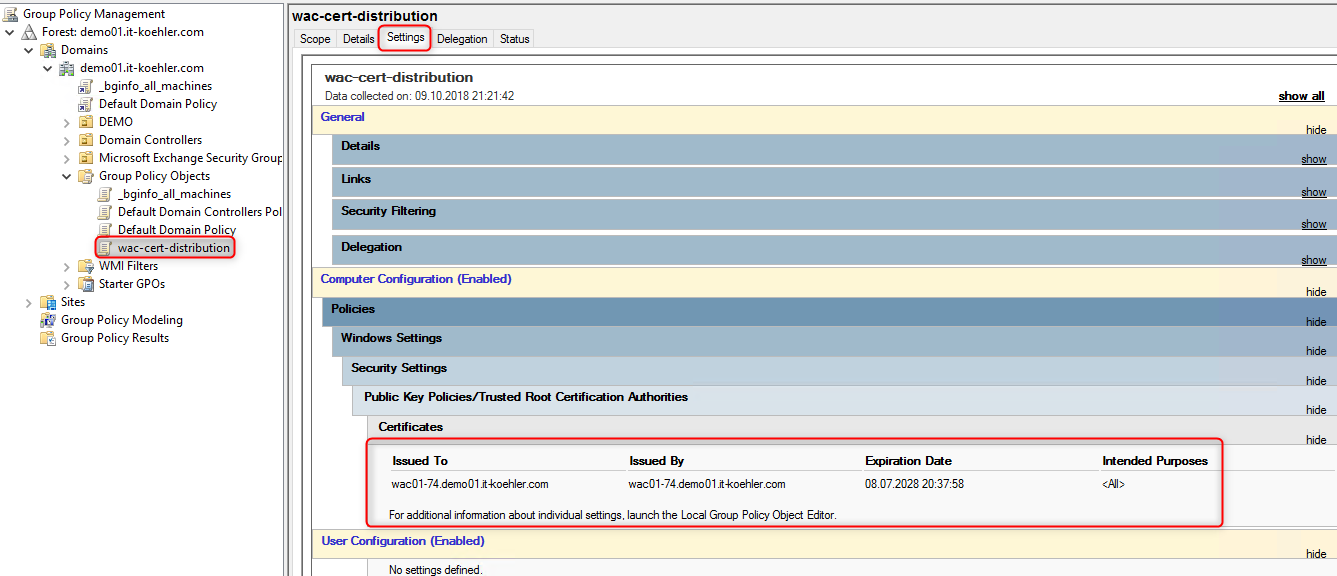
After completing the gpo you can link it where all your PCs or Servers are , or where you do not want to see red warnings accessing the WAC.
Test the gpo with “gpupdate /force” on a client machine.
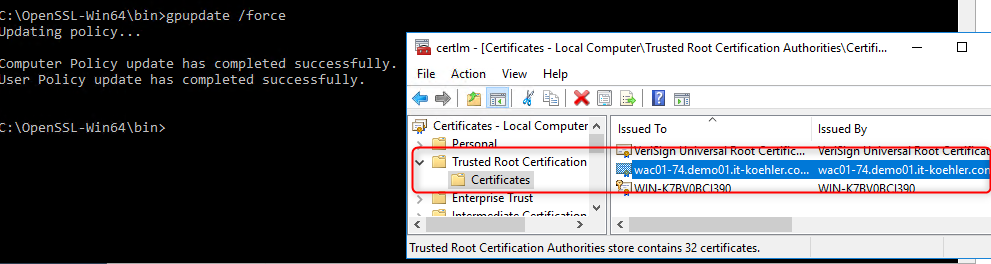
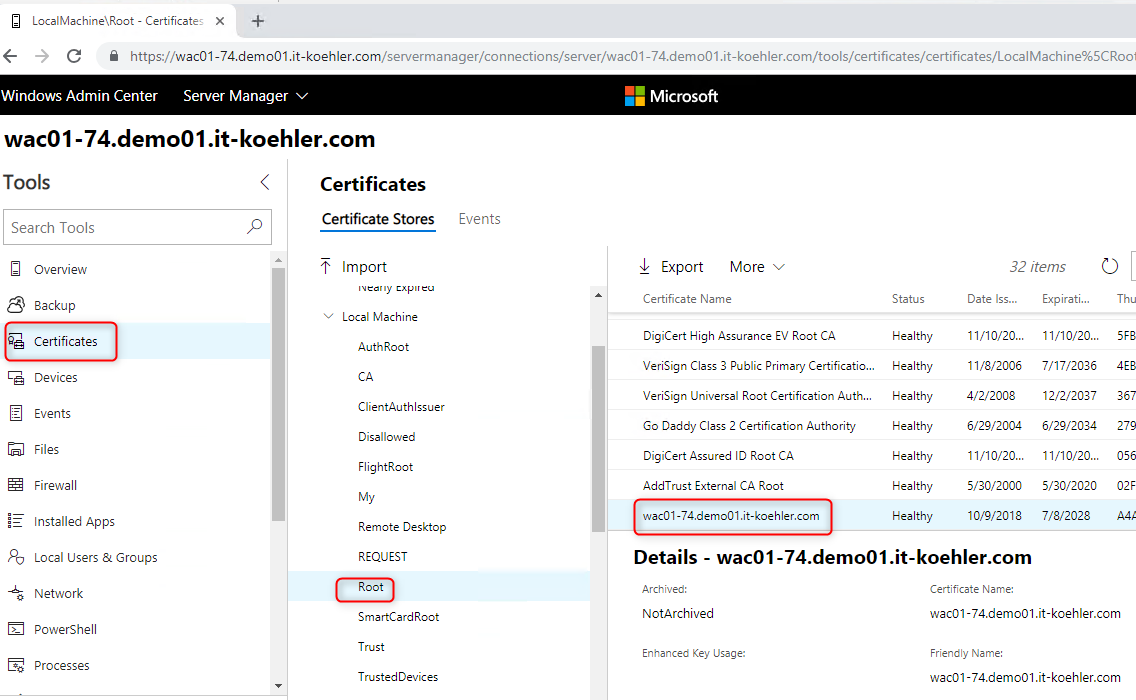
If your gpo works as it should there is no warning anymore. Feel free to ask some questions in the comment section. If you liked the blogpost click “Helpful”.
Thanks for reading and have fun.