The estimated reading time 1 minutes
Windows Server 2019 Core activate SMB-in rule via PowerShell
Today I deployed a brand new Windows Server 2019 Datacenter Core for installing the new Exchange Server 2019. I wrote a little PowerShell Script for joining domain and do IP configuration so on..
After enabling remote management, my windows admin center was able to manage the complete core server. Really nice, but what to do if you don’t have an windows admin center and you only want to activate SMB-in rule on the local firewall of this core server. (of course there are dozen way to do this, but this short article shows a really quick method)
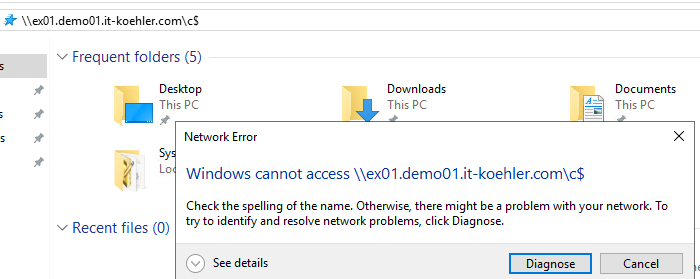
To achieve this goal you have to change firewall settings directly on the core server. First step is to open powershell in the cmd console. Easy! Only type “powershell.exe” . Here we go

Have a look at the firewall rules with cmdlet
Get-NetFirewallRule | ft
To find the “ping allow” rule:
Get-NetFirewallRule *icmp4* | ft Name,DisplayName,Enabled
also see the “smb-in” rule:
Get-NetFirewallRule *smb-in* | ft Name,DisplayName,Enabled

To enable these rules just write these two lines:
Set-NetFirewallRule FPS-SMB-In-TCP -Enabled True
Set-NetFirewallRule FPS-ICMP4-ERQ-In -Enabled True


It is of course possible to disable, these rules for security reasons:
Set-NetFirewallRule FPS-ICMP4-ERQ-In -Enabled False
Set-NetFirewallRule FPS-SMB-In-TCP -Enabled False
If you liked this article, please click on “helpful” at the bottom of this page. Have fun with Windows Core Server.

[…] WIN 2019 Core activate SMB-in rule via PowerShell – IT … […]
This is an amazing tutorial, thank you!